The Course
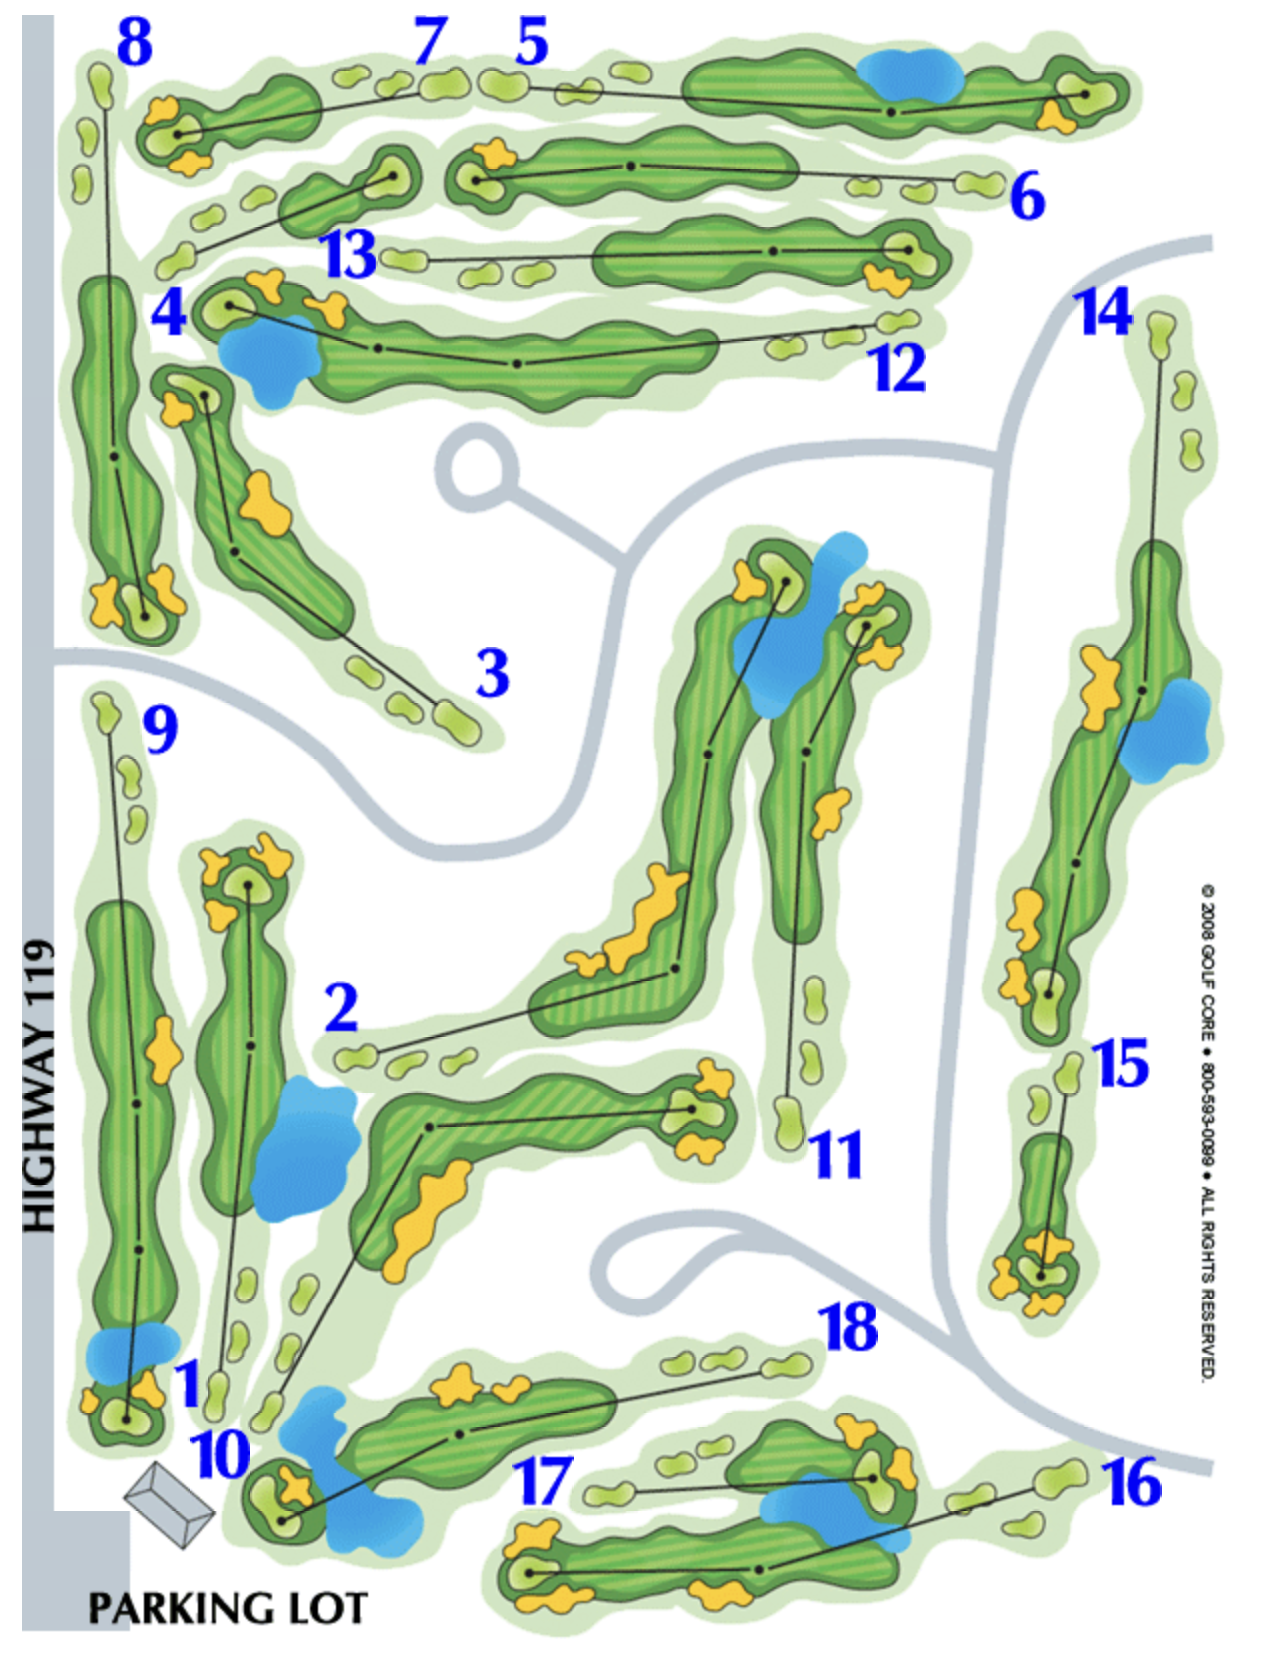
The Black Squirrel Golf Course is a 72 par 18-hole course that features all the aspects necessary to challenge both the serious and the recreational golfer alike: water, strategically-placed bunkers, doglegs, short stretches, long stretches, and more; combined with beautifully manicured fairways and greens.
Hole 1
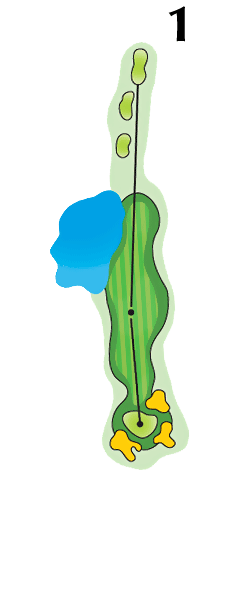
Hole 1 shares a tee box with Hole 10 straight out the back of the clubhouse. With water in play to the right, this first hole can be dangerous for many right-handed players. Past that, the fairway is generous, but the green is guarded by three bunkers.
| Blue | White | Gold | Red | Par |
| 375 | 365 | 318 | 307 | 4 |
Hole 2
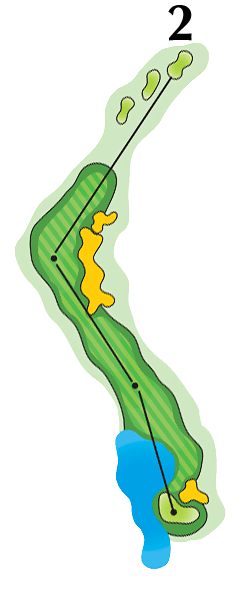
Hole 2 is the first par 5 of the course. It boasts a strong left turn and the corner is protected by large fairway bunkers. Your second shot likely requires a layup as the green sits between a water hazard and a greenside bunker.
| Blue | White | Gold | Red | Par |
| 518 | 490 | 450 | 414 | 5 |
Hole 3
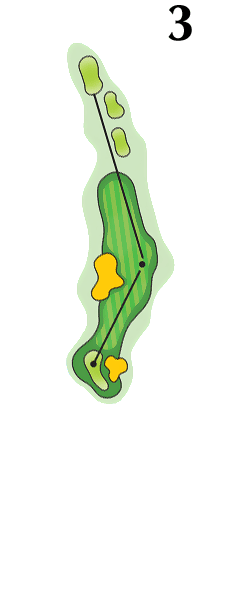
Hole 3 is a short par 4. A slight right turn lends to the right-handed player, but watch out for the strategically placed bunkers. A narrow green means your approach shot needs to be accurate.
| Blue | White | Gold | Red | Par |
| 329 | 320 | 281 | 246 | 4 |
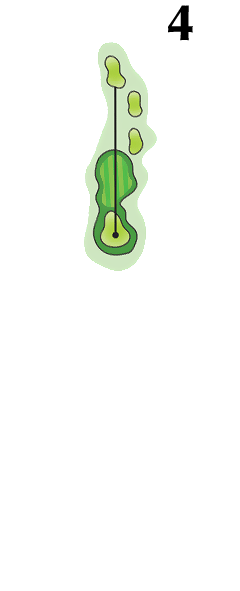
Hole 4
Hole 4 is the first par 3 on the front 9. A small fairway just before the green helps less experienced players handle this hole.
| Blue | White | Gold | Red | Par |
| 168 | 156 | 124 | 100 | 3 |
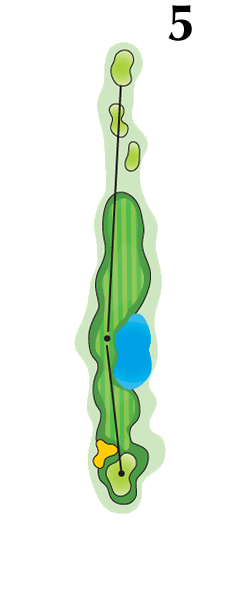
Hole 5
Hole 5 is a beautiful par 4 with an ample fairway, that is until you reach the water on the left. If your ball stays dry, your approach shot needs to clear the green-side bunker short right. The green is large and fast.
| Blue | White | Gold | Red | Par |
| 414 | 398 | 355 | 342 | 4 |
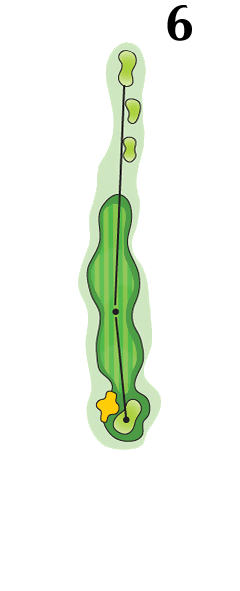
Hole 6
Hole 6 is another short and straight par 4. A relief after hole 5. Another green-side bunker short right to keep things interesting. Take advantage of this scoring hole.
| Blue | White | Gold | Red | Par |
| 365 | 358 | 322 | 289 | 4 |
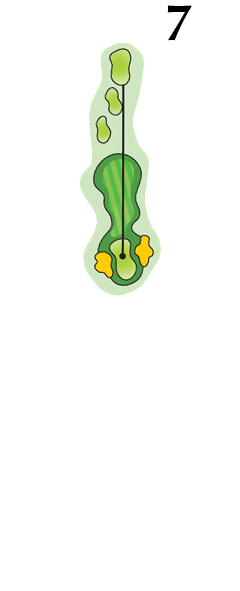
Hole 7
Hole 7 is our longest par 3, stretching 205 yards from the tips. Bunkers on both sides of the narrow green don’t leave you many options other than an accurate tee shot.
| Blue | White | Gold | Red | Par |
| 205 | 190 | 160 | 140 | 3 |
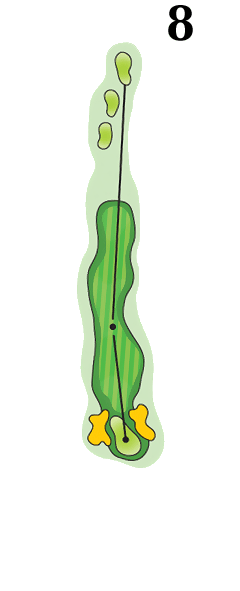
Hole 8
Hole 8 boasts a narrow fairway protected by trees on both sides. The green is also protected on both sides by sand. This hole runs along the road, so keep your fade in check.
| Blue | White | Gold | Red | Par |
| 367 | 360 | 325 | 290 | 4 |
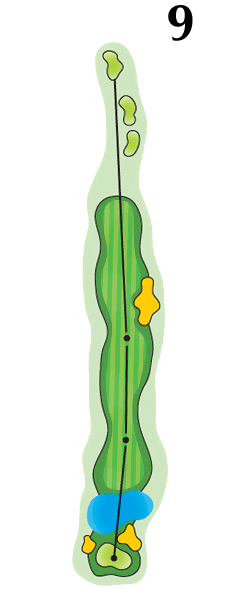
Hole 9
The iconic hole 9. You’ll have spectators from the road, the club house, and the #1 tee box. Everyone wants to see if you clear the water onto the elevated green. The fairway is generous, but the green is not.
| Blue | White | Gold | Red | Par |
| 480 | 470 | 429 | 375 | 5 |
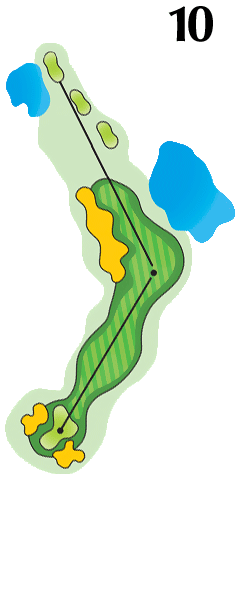
Hole 10
436 Yard | Par 4
Hole 10 shares a tee box with Hole 1 straight out the back of the clubhouse. With water in play left and a fairway bunker covering the right, accuracy is paramount. The strong right turn leads up to an easily accesible green with traps flanking the rear sides.
| Blue | White | Gold | Red | Par |
| 436 | 415 | 368 | 341 | 4 |
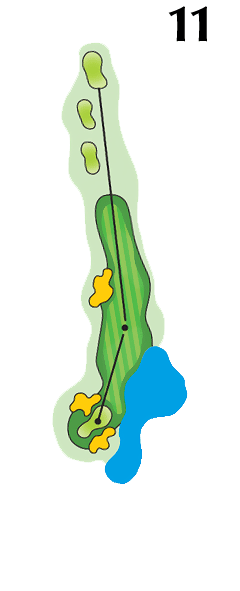
Hole 11
The number 11 hole sports a short right bunker and long left water hazard. The long skinny green is protected by bunkers on either side.
| Blue | White | Gold | Red | Par |
| 379 | 363 | 333 | 300 | 4 |
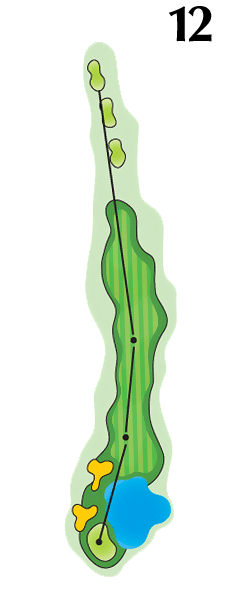
Hole 12
Hole 12 is the first par 5 on the back 9. If you can stay out of the woods on the right, you’ll find the green that’s heavily guarded by water and sand. This is a fun and challenging hole.
| Blue | White | Gold | Red | Par |
| 507 | 492 | 450 | 417 | 5 |
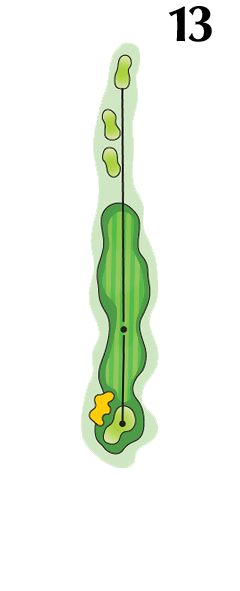
Hole 13
Hole 13 is one of the easier holes on the course with a straight shot to the green. Watch for the bunker short right of the green.
| Blue | White | Gold | Red | Par |
| 371 | 338 | 305 | 262 | 4 |
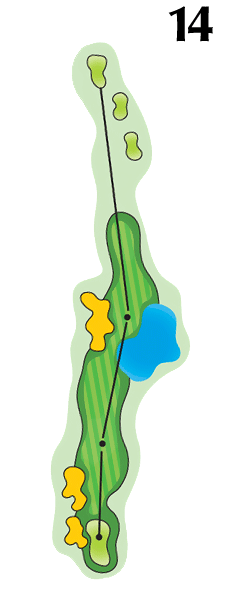
Hole 14
Hole 14 is the second and last par 5 on the course. It may not seem like it, but it plays as the 3rd easiest hole on the course. Water and send in play for your tee shot followed by bunkers to the right of the green.
| Blue | White | Gold | Red | Par |
| 479 | 470 | 430 | 390 | 5 |
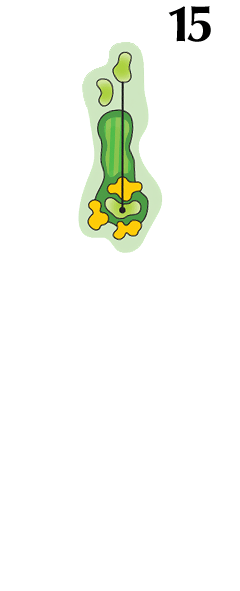
Hole 15
Hole 15 is officially the easiest hole on the course. A short par 3 with just a bit of sand to the right. Even missing the green could be ok and not difficult to get up and down.
| Blue | White | Gold | Red | Par |
| 150 | 135 | 110 | 102 | 3 |
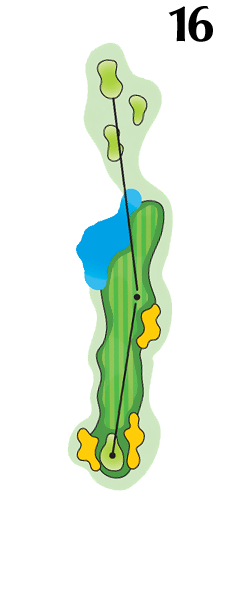
Hole 16
Hole 16 is safe if you keep your tee shot in line. A slice could land you in the water between 16 and 17. The green is carrying bunkers on both sides.
| Blue | White | Gold | Red | Par |
| 405 | 385 | 322 | 312 | 4 |
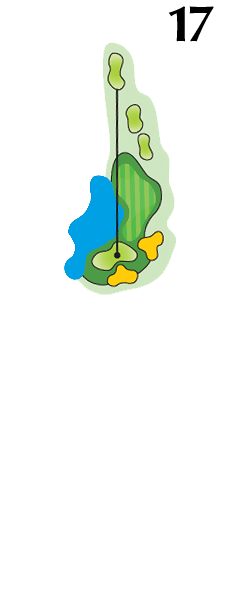
Hole 17
Hole 17 is the final par 3 on the course. The green demands accuracy with water all along the right and bunkers on the left.
| Blue | White | Gold | Red | Par |
| 182 | 172 | 136 | 117 | 3 |
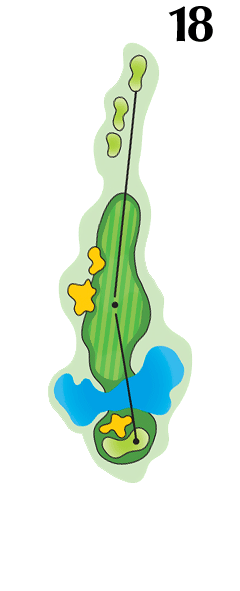
Hole 18
Hole 18 is a forgiving par 4 with a small fairway bunker on the right and water short left of the green. Finish strong as the clubhouse has a perfect view of the approach and green. No pressure.
| Blue | White | Gold | Red | Par |
| 395 | 366 | 315 | 274 | 4 |